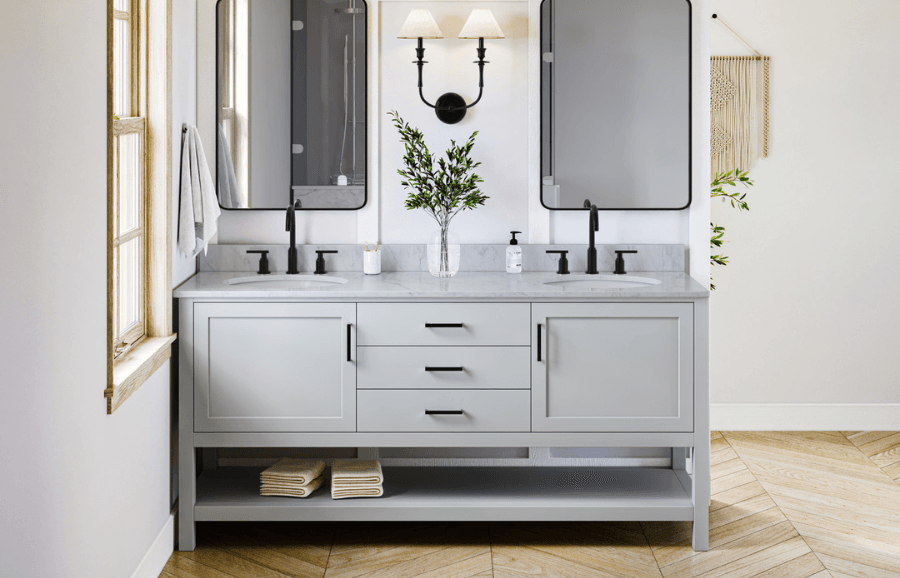
To install a bathroom vanity, you'll mount the cabinet to the wall (freestanding vanities anchor to the studs, wall-mounted vanities hang from a wood hanger), attach the undermount sink to the countertop, set the countertop and backsplash with silicone, and connect the plumbing.
The cabinet mounting itself takes about 30 minutes, and we recommend at least two people for the job. This guide covers both freestanding and wall-mounted installation, plus the shared steps for the sink, countertop, and backsplash.
1. Before You Start
Read this section first, since it covers safety, what comes with your ARIEL vanity, and the tools you'll need.
-
Safety: Improper installation can cause personal injury and property damage. Use wall anchors appropriate to your wall type (plaster, drywall, concrete), and mount into wood studs wherever possible. Two people are required to handle the cabinet and countertop safely.
-
What's in the box: ARIEL vanities include the mounting hardware for your model. Wall-mounted vanities come with a wood hanger (A) and M6 screws (B). Note that the sink ships separately from the countertop, so you'll attach it during installation.
-
Tools you'll need (not included):
-
Pencil
-
Silicone/caulk and a silicone gun
-
Towel
-
Drill (for floating vanities)
-
Phillips screwdriver (for floating vanities)
-
Tape measure (for floating vanities)
-
Stud finder (for floating vanities)
-
Level (for floating vanities)

2. Which Installation Do You Have?
Choose your path based on your vanity type. A freestanding vanity rests on the floor and anchors to the wall studs for stability. A wall-mounted (floating) vanity hangs off the floor on a wood hanger secured to the wall.
The sink, countertop, and backsplash steps are the same for both, and come after the cabinet is mounted.
If you're replacing an old vanity, start with removal below. If it's a new installation on a bare wall, skip to your cabinet path.
2.1 Removing Your Old Vanity (Replacements Only)
Before removing anything, shut off the water supply at the shutoff valves and disconnect the plumbing. Then:
-
Turn off the hot and cold water at the shutoff valves and open the faucet to release pressure.
-
Disconnect the supply lines and the drain/P-trap, keeping a towel and bucket handy for residual water.
-
Detach the old countertop and cut any silicone or caulk sealing it to the wall.
-
Unscrew the old cabinet from the wall and remove it.
With the wall clear, you're ready to mount the new vanity.
2.2 Installing a Freestanding Vanity
A freestanding vanity sits on the floor and is anchored to the wall studs so it can't tip. Work in this order:
Step 1 - Mark the placement: Position the cabinet where it will sit and mark its outline on the wall, confirming it fits the space.
Step 2 - Locate the studs: Use a stud finder to locate and mark the studs behind the drywall. For a brick or concrete wall, mark where you'll anchor and use anchors rated for that wall type.
Step 3 - Level the cabinet: Set the cabinet in place and check it with a level. Shim underneath as needed so the top is level in both directions.
Step 4 - Secure the cabinet: Screw through the cabinet's back rail into the wall studs to anchor it firmly.
Then continue to the shared sink and countertop steps below.
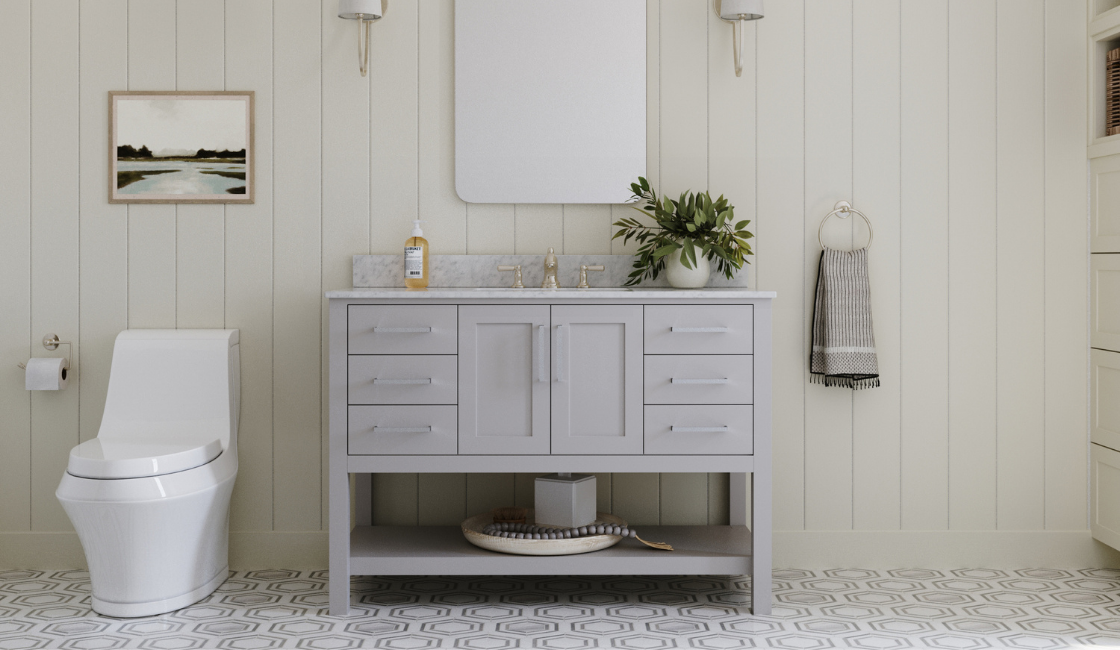
2.3 Installing a Wall-Mounted (Floating) Vanity
A wall-mounted vanity hangs on a wood hanger (a cleat) that you secure to the wall first, then hook the cabinet onto. Work in this order:
Step 1 - Locate the studs and pre-drill the hanger: Use the stud finder and pencil to locate and mark the studs behind the drywall. For brick or concrete, mark where you want the cabinet. Then mark and drill pilot holes in the wood hanger (A) so they align with the studs. If the studs don't line up with your cabinet, install wood blocking between them.

Step 2 - Secure the hanger to the wall: Use a tape measure to mark the hanger's height. We recommend about 28 inches from the floor for a floating vanity, though you can adjust it to suit your needs. Fasten the hanger into the wall and studs with the M6 screws (B).

Step 3 - Mount the cabinet onto the hanger: Lift the cabinet and hook its bracket over the wall hanger so the two interlock.

Step 4 - Secure the cabinet: Drive M6 screws through the cabinet into the hanger and wall to lock it in place.

Then continue to the shared sink and countertop steps below.
3. Attaching the Sink and Countertop (Both Types)
These steps are the same whether your vanity is freestanding or wall-mounted. Because the sink ships separately, you'll bond it to the underside of the countertop first, then secure it with clips, working with the countertop face down. The silicone creates the seal and bond; the clips hold the sink mechanically.
Step 1- Place and trace: Place the sink basin face down on the underside of the countertop, centered over the opening. Draw two guiding lines, at the topmost and bottommost points of the sink, crossing both the sink and the countertop, so you can realign them later.
Step 2 - Prepare the sink basin: Using a caulking gun, apply an ample bead of silicone to the top side of the sink basin edge.
Step 3 - Flip and set: Carefully flip the basin over and set it so the guiding lines on the sink and countertop line up.
Step 4 - Dry and set: Press down on the basin to seal the silicone and remove any excess on the outer edge. Follow the recommended drying time on your silicone product, typically 12 to 24 hours.

Step 5 - Attach the undermount clips: Insert the wing-nut bolt (A) through the nut (B), then through the opening of the undermount clip (C). Insert the bolt into the threaded hole on the underside of the countertop and hand-tighten only, until the clip sits about 1/4 inch below the countertop surface. Align the sink and tighten the wing-nut bolt as needed to hold it securely.
Step 6 - Set the countertop onto the cabinet: Apply silicone to the upper edge of the cabinet where it meets the countertop. Following the silicone's dry-time guidance, flip the countertop right-side up, set it on top of the vanity, and press down firmly along the edges.
Step 7 - Set the backsplash: Apply silicone to the unpolished (roughed) bottom and back sides of the backsplash. Press it down against the countertop and back against the wall to set it in place. Remove any excess silicone.

4. Connecting the Plumbing
With the cabinet and countertop in place, connect the water. This part depends on your faucet and drain, so follow the instructions that came with your faucet, and call a plumber if you're unsure.
In general, you'll install the faucet and drain assembly (often easiest before the countertop is fully set), connect the supply lines to the shutoff valves, and fit the drain and P-trap. Turn the water back on slowly and check every connection for leaks before you finish.

5. Final Checks
Once everything is connected, wipe away any leftover silicone, run the water to confirm there are no leaks, and let all siliconed joints cure fully before regular use. That's it, your vanity is installed.
Watch the Full Install
Prefer to follow along on video? Watch the official ARIEL installation video for a step-by-step walkthrough.
For help choosing a vanity, see our floating vanities, freestanding types and the vanity sizing guide.
Frequently Asked Questions
-
Q: How long does it take to install an ARIEL bathroom vanity?
ARIEL Bath: The cabinet mounting takes about 30 minutes with two people. Total time is longer once you add plumbing hookup and let siliconed joints cure. - Q: Do I need two people to install a vanity?
ARIEL Bath: Yes. We recommend at least two people to handle the cabinet and countertop safely. - Q: What's the difference between installing a freestanding and a wall-mounted vanity?
ARIEL Bath: A freestanding vanity rests on the floor and anchors to the wall studs. A wall-mounted (floating) vanity hangs on a wood hanger secured to the wall, typically about 28 inches from the floor. The sink and countertop steps are the same for both. - Q: Does the sink come attached to the countertop?
ARIEL Bath: No. The sink ships separately, so you attach it to the underside of the countertop during installation. You silicone-bond and seal the sink first, let it cure, then secure it with the wing-nut undermount clips. - Q: Do I need a plumber to install a vanity?
ARIEL Bath: You can do the cabinet and countertop yourself. For the plumbing, follow your faucet's instructions, and call a plumber if you're not comfortable connecting supply lines and the drain.