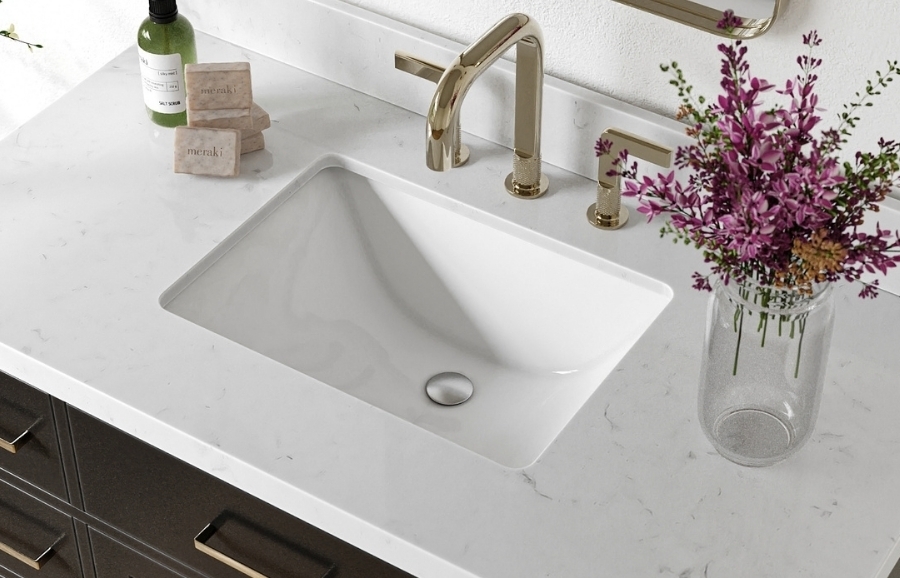
How do you install an undermount bathroom sink?
To install an undermount bathroom sink, silicone the top edge of the basin, set it against the underside of the countertop along your guide marks, let the silicone cure, secure the basin with the undermount clips, then check for leaks. The process is the same whether your sink is oval or rectangular.
This guide follows ARIEL Bath's official installation method. It is a manageable DIY job if you work carefully and give the silicone its full cure time before running water.
What you'll need
Your ARIEL undermount sink comes with the mounting hardware. Have these on hand before you start:
-
4 bolts
-
4 wing nuts
-
4 washers
-
4 undermount clips
-
Silicone and a caulking gun
-
A marker

Step-by-step installation
Step 1: Place and trace
Place the sink basin against the underside of the countertop, centered over the cutout. Draw guide lines on both the countertop and the basin in two locations, so you can line the basin back up in the same position after you apply the silicone.

Step 2: Prepare the sink basin
Using a caulking gun, apply a heavy, continuous bead of silicone along the top edge of the basin rim, the edge that will meet the underside of the countertop.

Step 3: Flip and set in place
Carefully flip the basin over and set it against the countertop so the guide lines match up in both spots. Taking your time here is what keeps the sink centered on the cutout.

Step 4: Dry and set
Press down on the basin to seat it and seal the silicone. Wipe away any excess before it sets. Then let it cure according to the dry-time recommendation on your product, typically 12 to 24 hours. Do not rush this step; the seal needs to fully cure before the sink takes any weight or water.

Step 5: Attach the undermount clips
Thread a bolt (A) into a wing nut (B), add a washer (C), and guide the assembly through the undermount clip (D) into the threaded hole in the countertop. Hand-tighten the bolt only, to about 1/4 inch below the countertop surface. Then secure the sink by tightening the wing nut only. Repeat for all four clips.
Hand-tighten only. Overtightening can crack the basin or the countertop.

Step 6: Check the sink under the cabinet
Look beneath the cabinet to confirm the sink is seated correctly in its undermount position, with the clips holding it evenly against the countertop.

Step 7: Inspect for leaks
With the faucet, drain, and supply lines connected, run water into the sink and inspect all the connections for leaks. Connect the plumbing following the instructions that came with your faucet and drain; our vanity installation guide covers the cabinet and plumbing side of the job.

Tips for a clean, leak-free install
-
Center the basin and draw your guide marks before you apply any silicone, so you are not repositioning a wet basin.
-
Use a heavy, continuous silicone bead with no gaps around the rim.
-
Hand-tighten the bolts only, and never force them; the seal, not pressure, does most of the work.
-
Wait for the full cure time before running water, even if the surface feels set.
-
Wipe away excess silicone before it cures for a clean edge.
Conclusion
Installing an undermount bathroom sink comes down to a clean silicone seal, careful alignment to your guide marks, the full cure time, and the four undermount clips holding the basin against the counter. The same steps apply to an oval or a rectangular basin. Take your time with the seal and the leak check, and it is a job most homeowners can do themselves.
Frequently Asked Questions
-
Q: How do you install an undermount bathroom sink?
ARIEL Bath: Silicone the top edge of the basin, set it against the underside of the countertop along your guide marks, let the silicone cure (typically 12 to 24 hours), secure it with the four undermount clips, then run water to check for leaks. - Q: What holds an undermount sink in place?
ARIEL Bath: Two things: a continuous silicone seal between the basin rim and the underside of the countertop, and four undermount clips bolted into the countertop that hold the basin firmly against it. - Q: What tools and materials do you need?
ARIEL Bath: Your ARIEL sink includes four bolts, four wing nuts, four washers, and four undermount clips. You will also need silicone, a caulking gun, and a marker. - Q: How long does the silicone need to cure?
ARIEL Bath: Relocating the sink's plumbing lines runs about $400 to $2,200, averaging around $1,500, because it usually means opening the wall or floor and often a permit. It is the most common reason a simple swap becomes a four-figure job. - Q: Is installing an oval undermount sink different from a rectangular one?
ARIEL Bath: No. The tools and the seven steps are the same for both; only the basin shape differs. - Q: Does a double vanity cost more to install?
ARIEL Bath: Follow the dry-time recommendation on your product, which is typically 12 to 24 hours. Wait for the full cure before running water or putting any weight on the sink. - Q: Can you install an undermount sink yourself?
ARIEL Bath: Yes. It is a manageable DIY job if you apply a clean silicone seal, hand-tighten the clips without overtightening, respect the full cure time, and finish with a leak check.